Quickstart
Welcome to the PushFeedback documentation! In a few minutes, you'll have the PushFeedback widget up and running on your site.
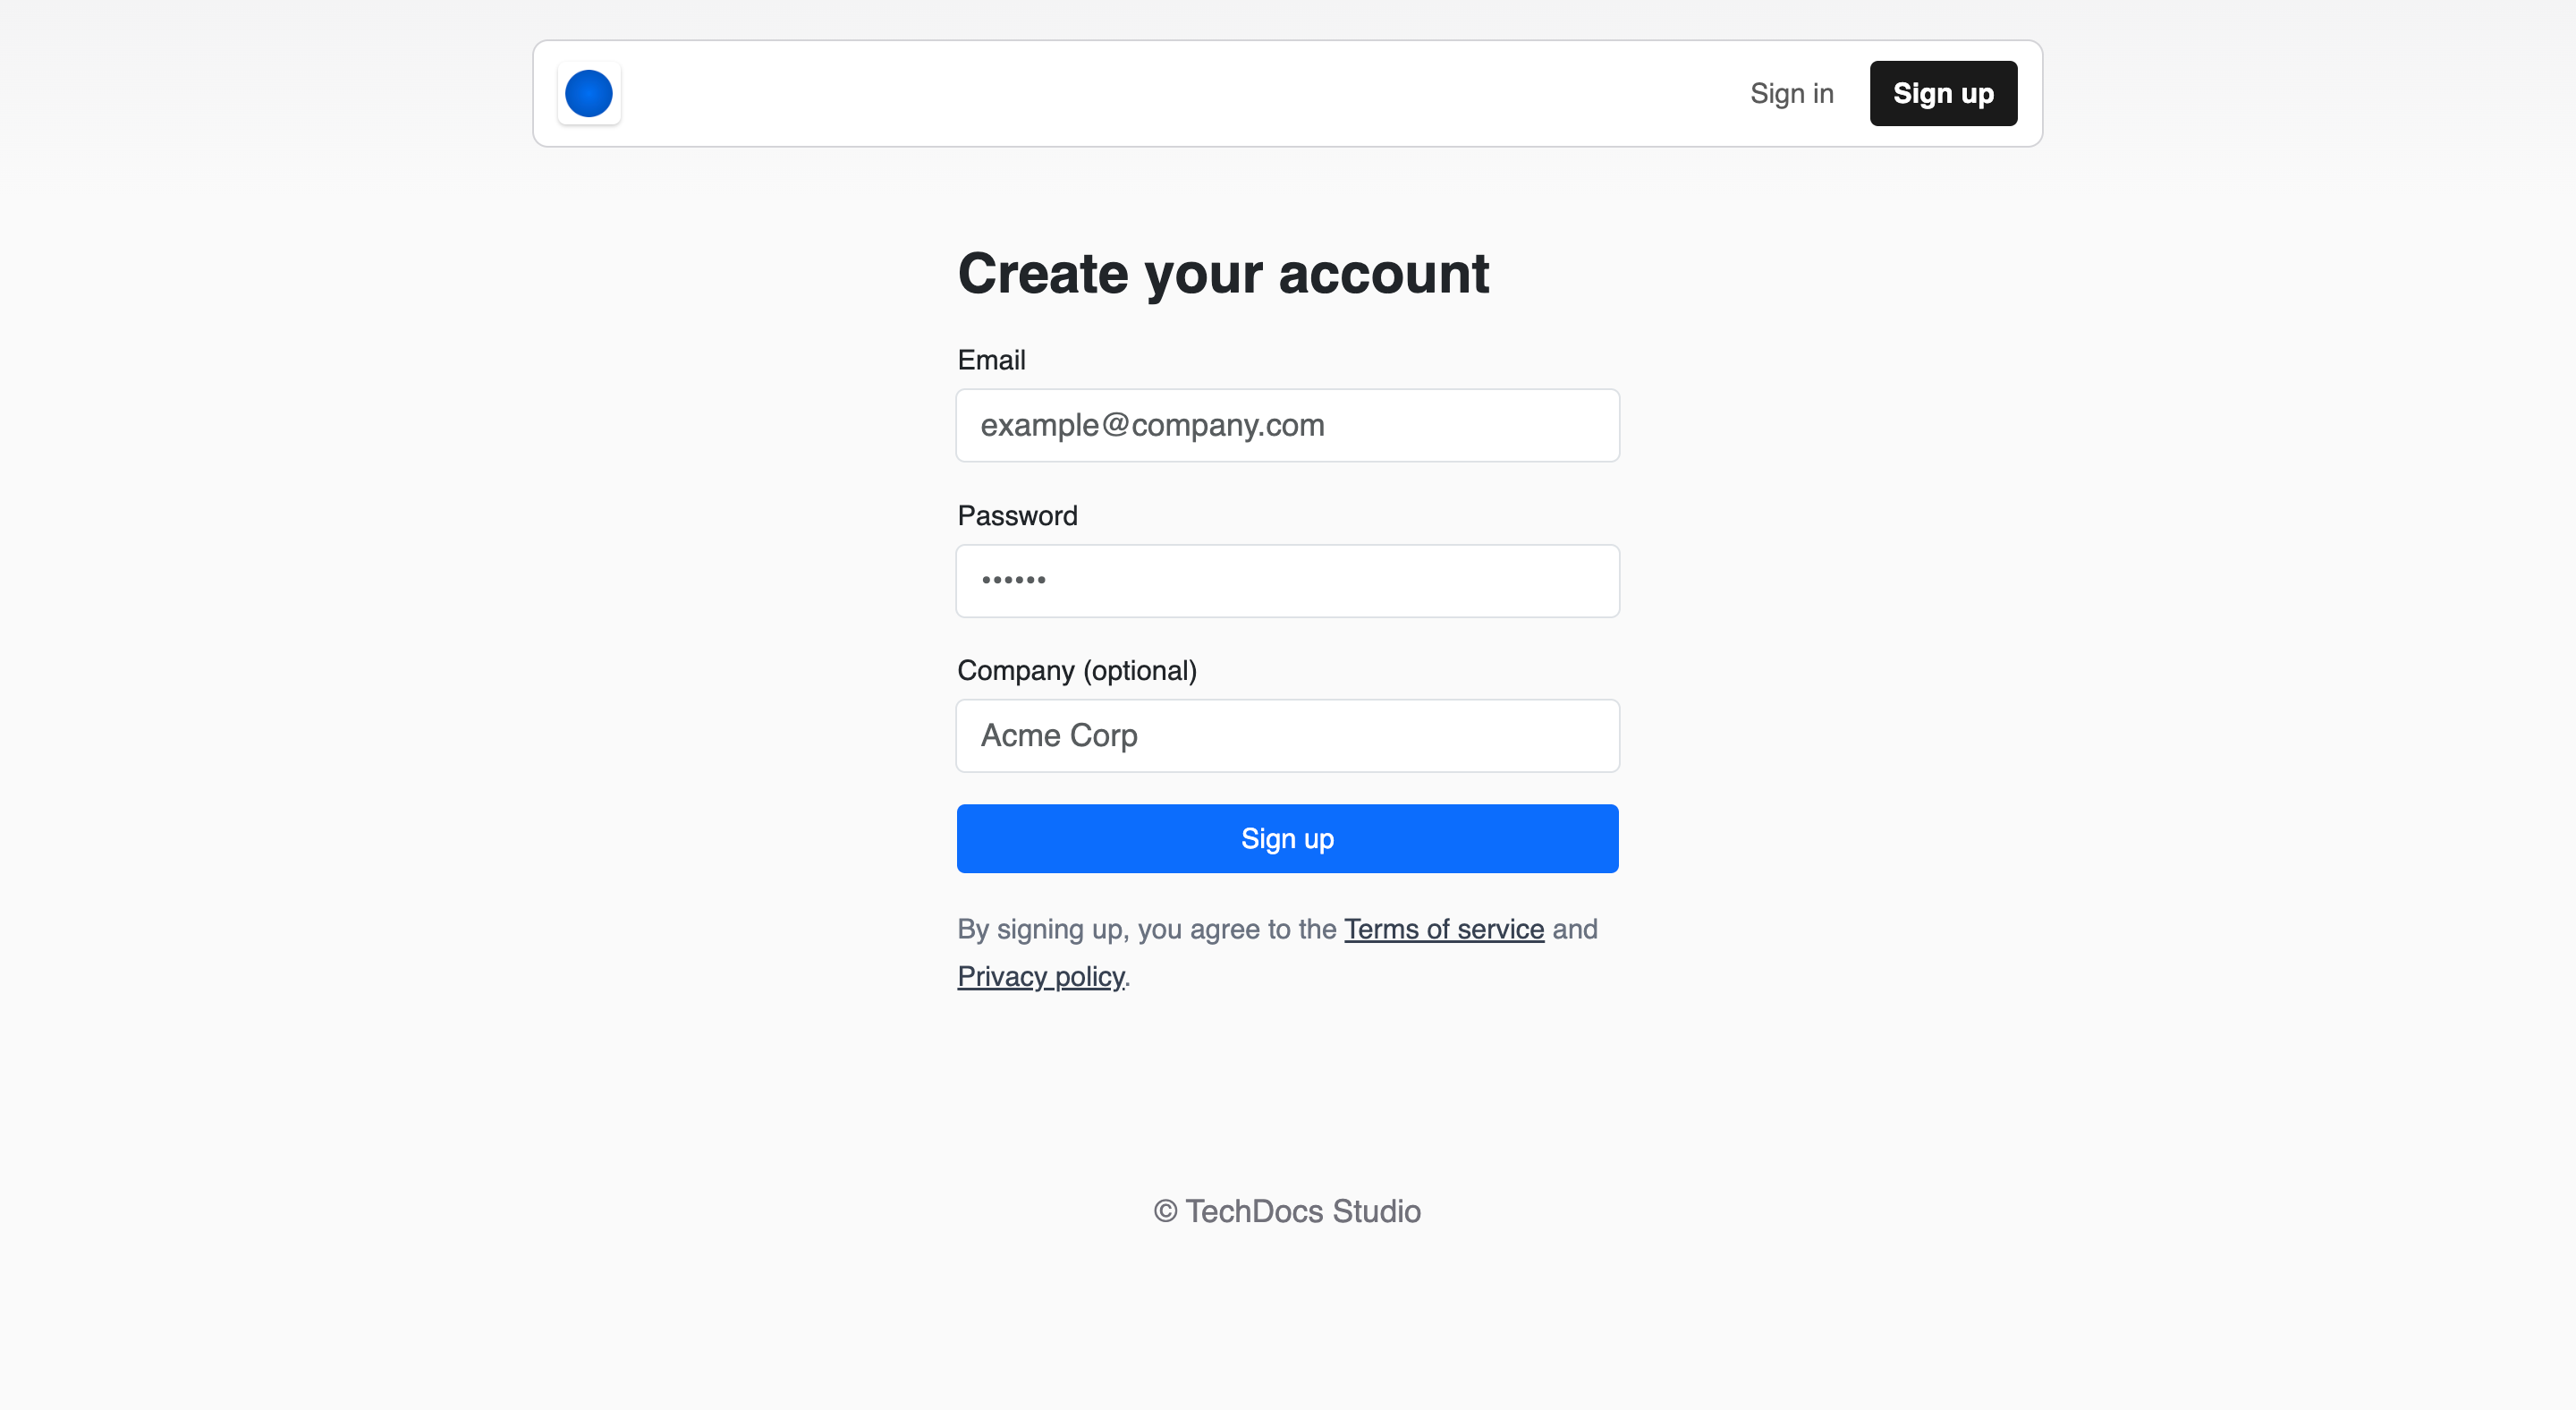
1. Create your PushFeedback account
To use the PushFeedback widget, start by setting up your account:
Open app.pushfeedback.com.
Click on the Sign Up button located in the top bar.
Follow the on-screen instructions to set up your account.
With your account ready, move on to creating your first project.
2. Create a project
To create your first project, follow these steps:
In your PushFeedback dashboard, click the Projects tab in the top navbar.
Click the Create project button.
Step through the wizard, providing details about your project as prompted:
- URL configuration: Specify the URL where you intend to use the feedback widget. This URL must corresponds to the exact domain or subdomain where the widget will be used. For example, in our case we use
docs.pushfeedback.cominstead ofpushfeedback.com. - Email notification setup (optional): You have the option to define up to three email addresses that will receive notifications.
- Get your code snippet: The final step of the wizard shows your project code snippet, which contains your unique Project ID.
- URL configuration: Specify the URL where you intend to use the feedback widget. This URL must corresponds to the exact domain or subdomain where the widget will be used. For example, in our case we use
3. Add the widget to your site
To integrate the PushFeedback widget into your website:
Insert the following code within the
<head>section of your site's HTML:<!-- Initialize the PushFeedback widget -->
<link rel="stylesheet" href="https://cdn.jsdelivr.net/npm/pushfeedback/dist/pushfeedback/pushfeedback.css">
<script type="module" src="https://cdn.jsdelivr.net/npm/pushfeedback/dist/pushfeedback/pushfeedback.esm.js"></script>infoThe above method is the standard way of integrating the widget into an static HTML site. If you're using a particular web framework or content management system, PushFeedback offers tailored installation options and plugins. For detailed guides, refer to our Installation documentation.
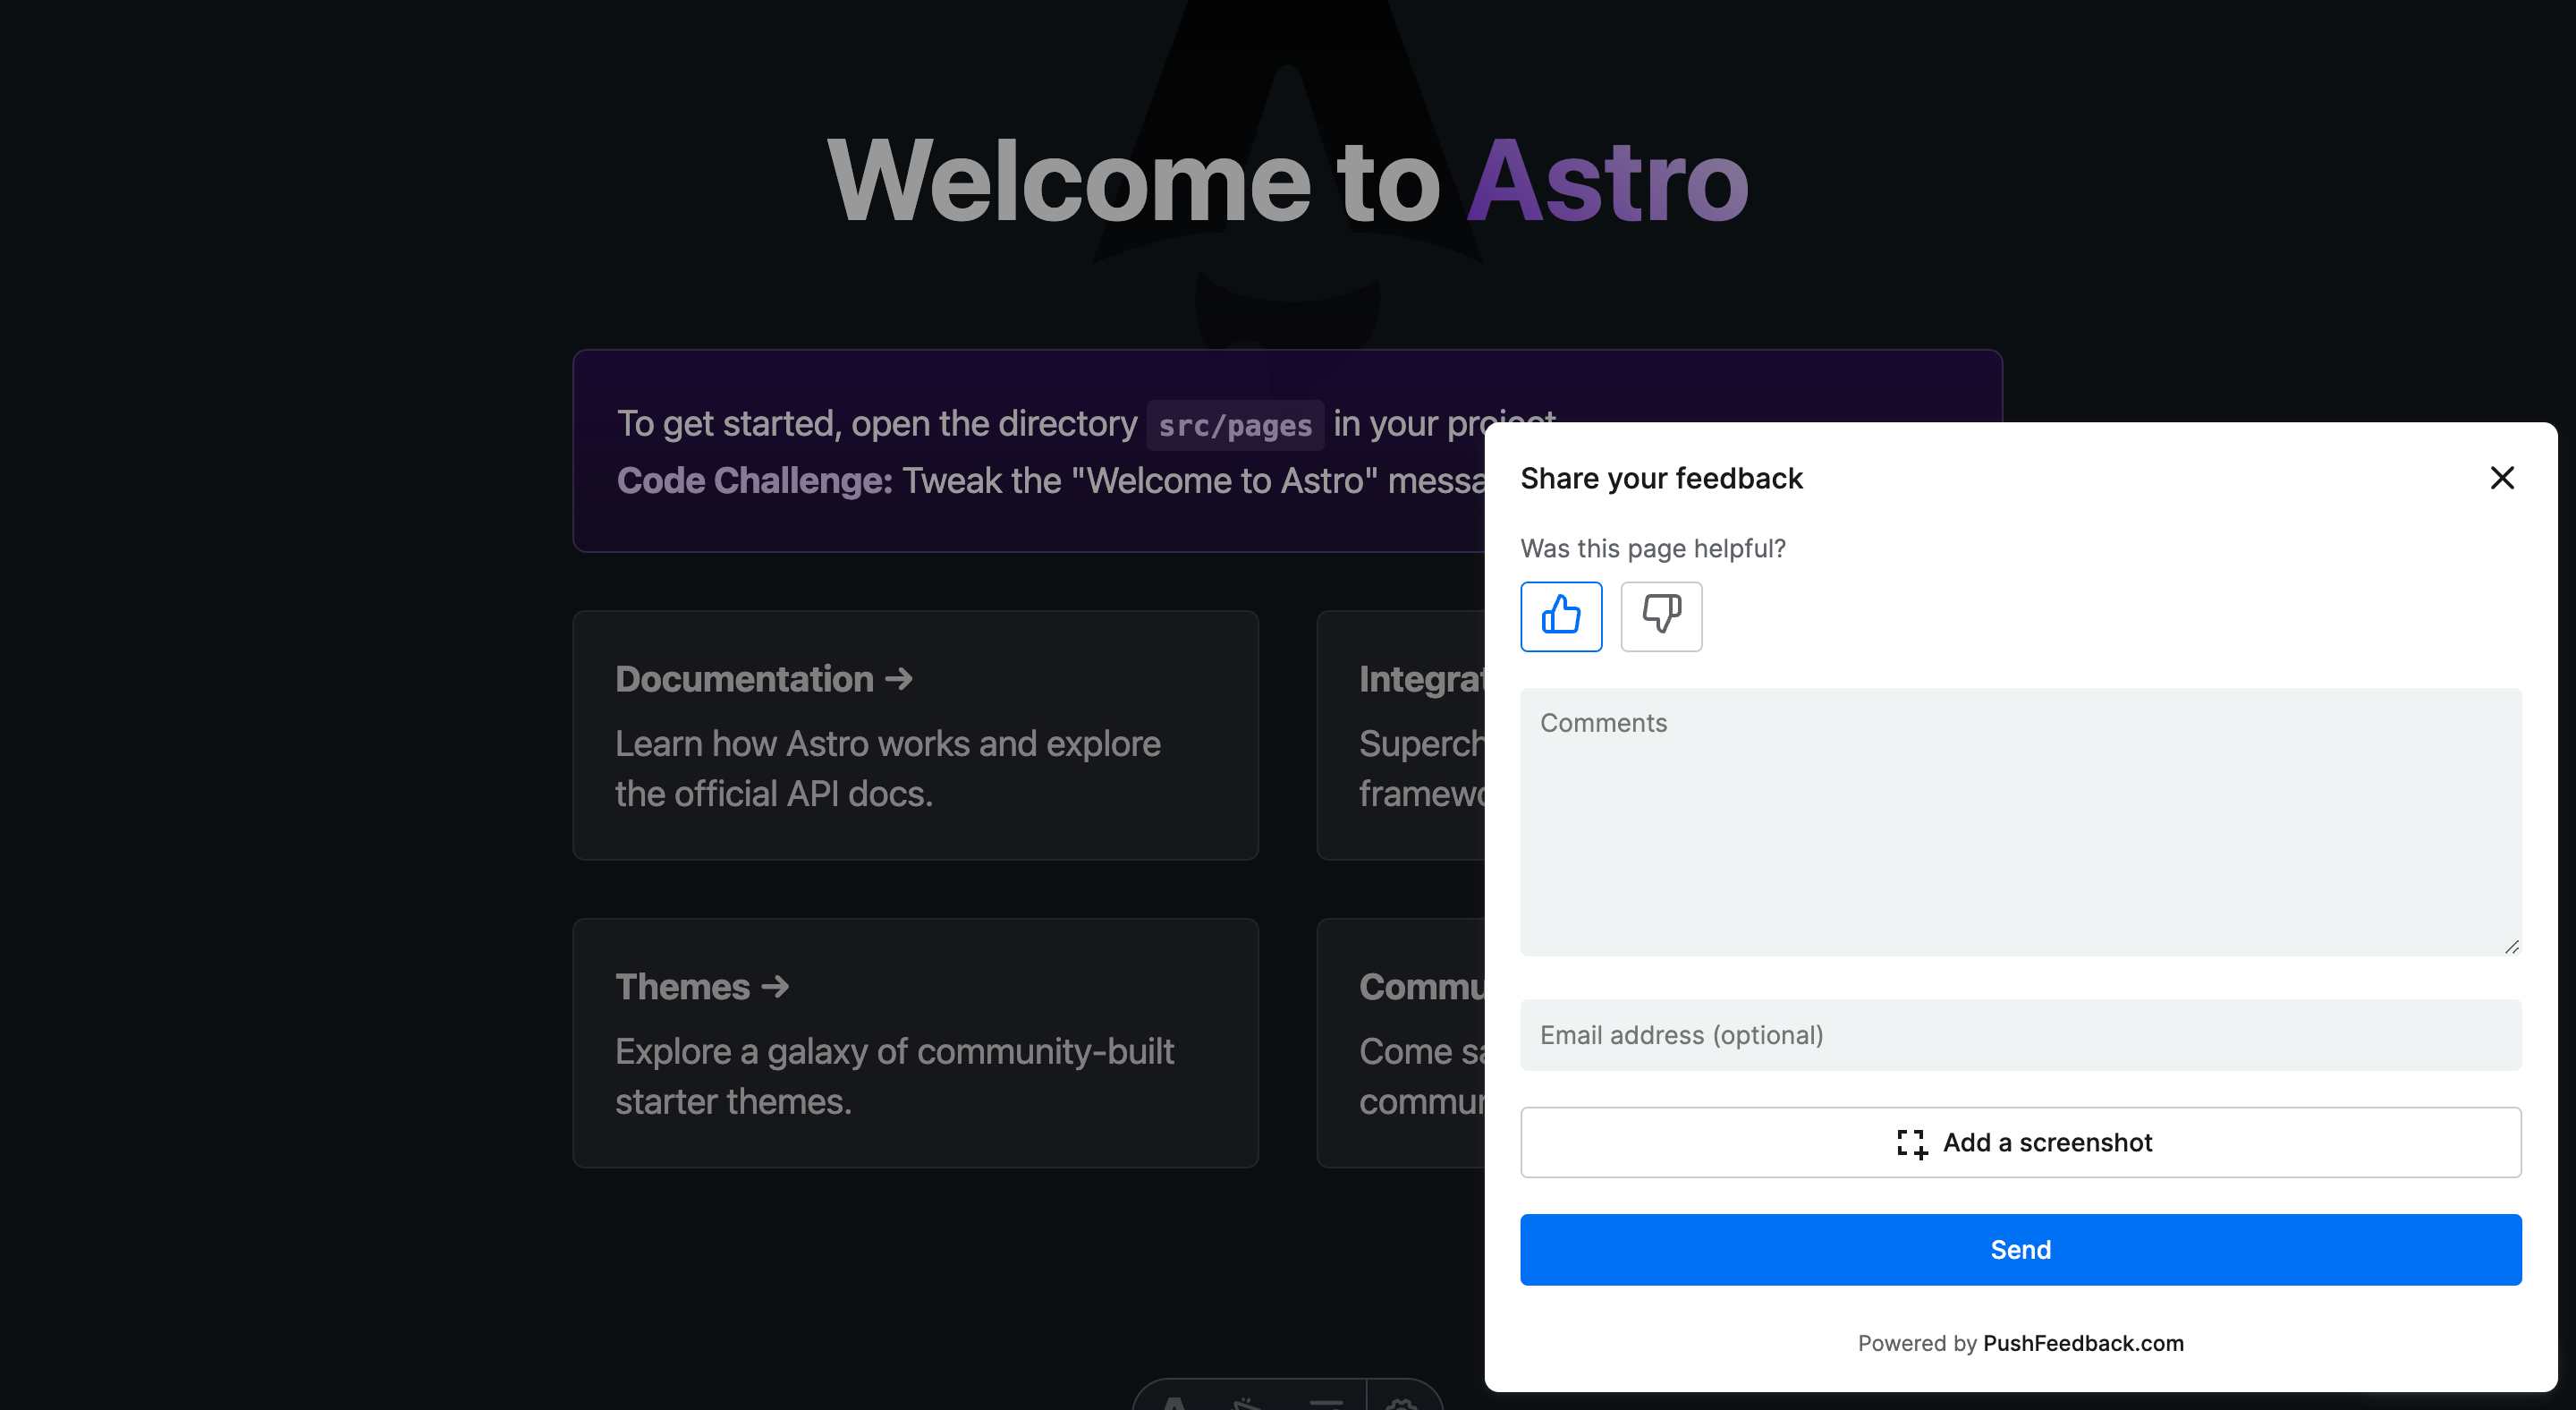
Just before the closing
</body>tag of your website's HTML, add the following snippet:<feedback-button project="<YOUR_PROJECT_ID>" button-position="bottom-right" modal-position="bottom-right" button-style="dark">Feedback</feedback-button>Replace
<YOUR_PROJECT_ID>with your project's ID you obtained from the previous step.You should see the widget installed in your site:
4. Customize the widget
Get the PushFeedback widget to blend with your website's design and functionality. Here's a quick look at some customization options:
Layout: Choose the widget's placement on your site—bottom right, top left, or even integrate it with an existing button.
Styles: Modify colors, fonts, and more to ensure the widget harmonizes with your site's aesthetics.
Text: Adapt the widget's text to mirror your site's tone or language.
For detailed configuration steps, see our Customization documentation.
Next steps
Congratulations on setting up the PushFeedback widget! Now, your users can submit feedback from your site.
Stay proactive. Monitor your dashboard to gain insights from user feedback and improve your website accordingly.