Quickstart
PushFeedback adds a feedback widget to your documentation or website. Users rate pages, leave comments, and attach screenshots — giving your team actionable input without leaving the site.
In this tutorial, you create a PushFeedback account, set up a project, and add the widget to your site. Later, you can customize its appearance and connect it to tools like Slack or Jira.
1. Create your PushFeedback account
-
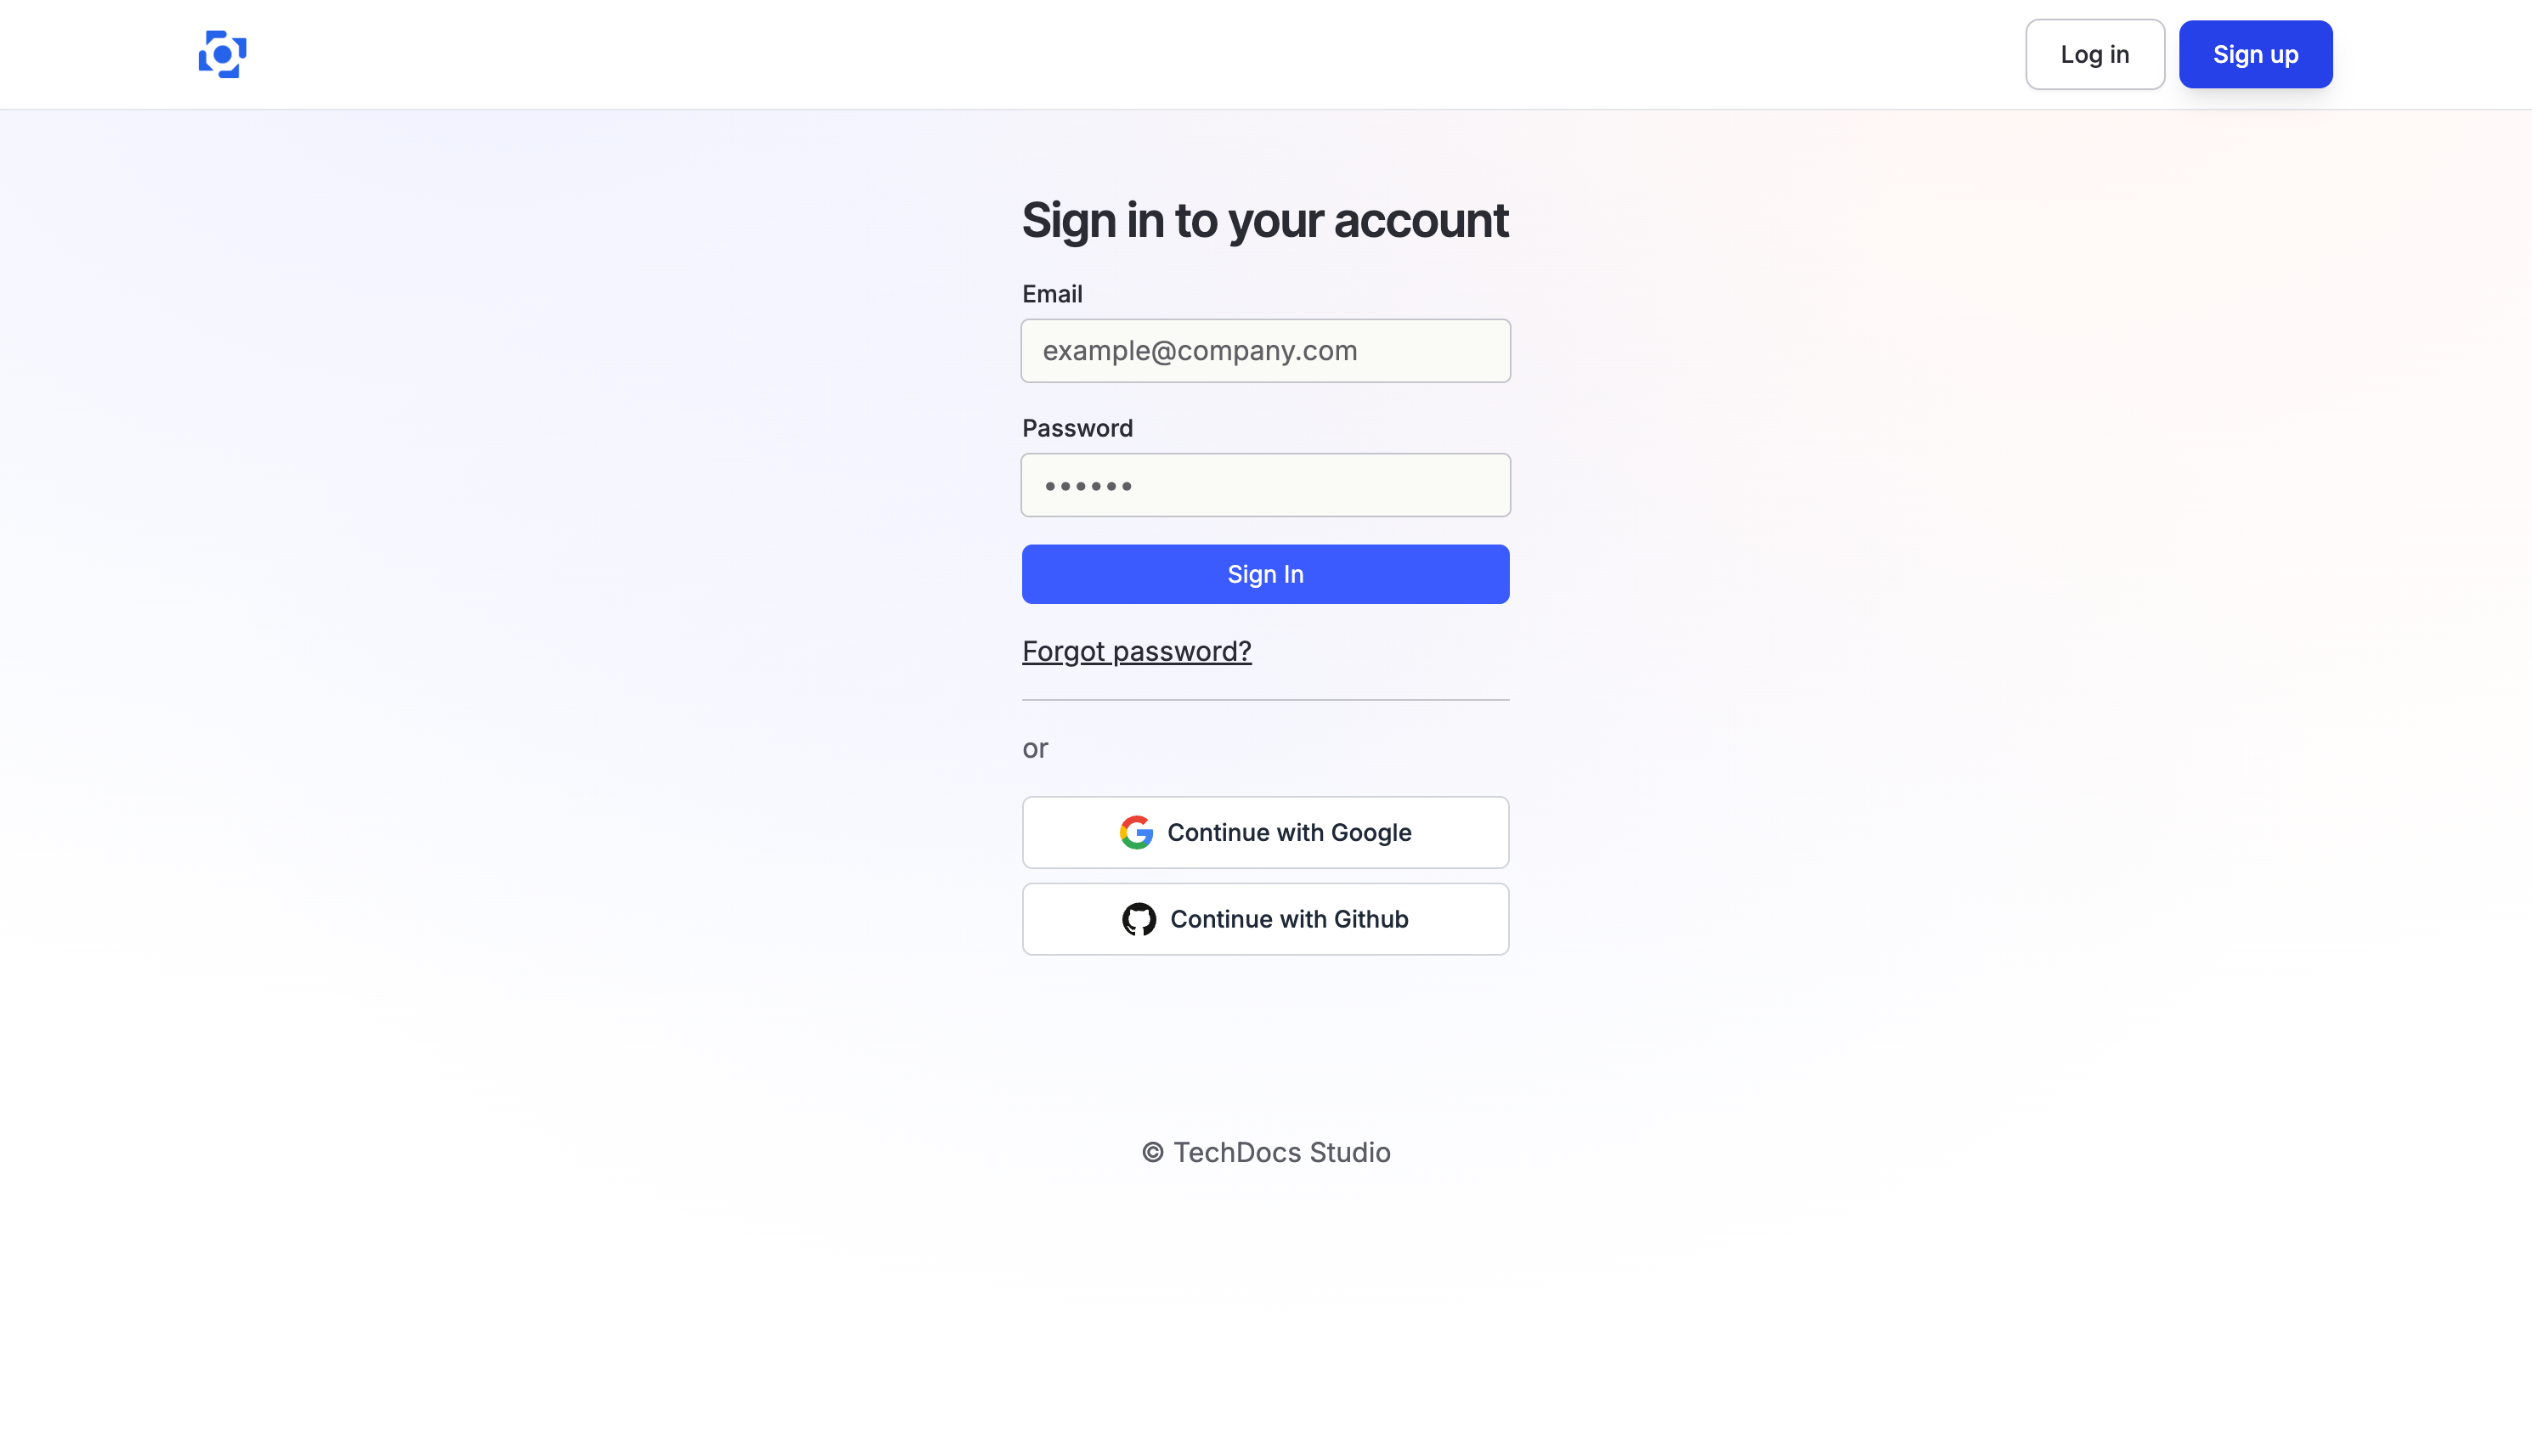
Open app.pushfeedback.com.
-
Click the Sign Up button in the top bar.
-
Complete the registration form.
After creating your account, create a project to configure the widget.
2. Create a project
-
In your PushFeedback dashboard, click the Projects tab in the top navbar.
-
Click the Create project button.
-
Step through the wizard:
- URL configuration: Specify the URL where you intend to use the feedback widget. This URL must correspond to the exact domain or subdomain where the widget is used. For example, use
docs.pushfeedback.cominstead ofpushfeedback.com. - Email notification setup (optional): Define the email addresses to receive notifications: one on the free plan, up to three on paid plans.
- Get your code snippet: The final step of the wizard shows your project code snippet, which contains your unique Project ID.
- URL configuration: Specify the URL where you intend to use the feedback widget. This URL must correspond to the exact domain or subdomain where the widget is used. For example, use
3. Add the widget to your site
To integrate the PushFeedback widget into your website:
-
Insert the following code within the head section of your site's HTML:
<!-- Initialize the PushFeedback widget --><link rel="stylesheet" href="https://cdn.jsdelivr.net/npm/pushfeedback/dist/pushfeedback/pushfeedback.css"><script type="module" src="https://cdn.jsdelivr.net/npm/pushfeedback/dist/pushfeedback/pushfeedback.esm.js"></script>infoThe above method is the standard way of integrating the widget into an static HTML site. If you're using a particular web framework or content management system, PushFeedback offers tailored installation options and plugins. For detailed guides, refer to our Installation documentation.
-
Just before the closing body tag of your website's HTML, add the following snippet:
<feedback-button project="<YOUR_PROJECT_ID>" button-position="bottom-right" modal-position="bottom-right" button-style="dark">Feedback</feedback-button>Replace
<YOUR_PROJECT_ID>with your project's ID you obtained from the previous step. -
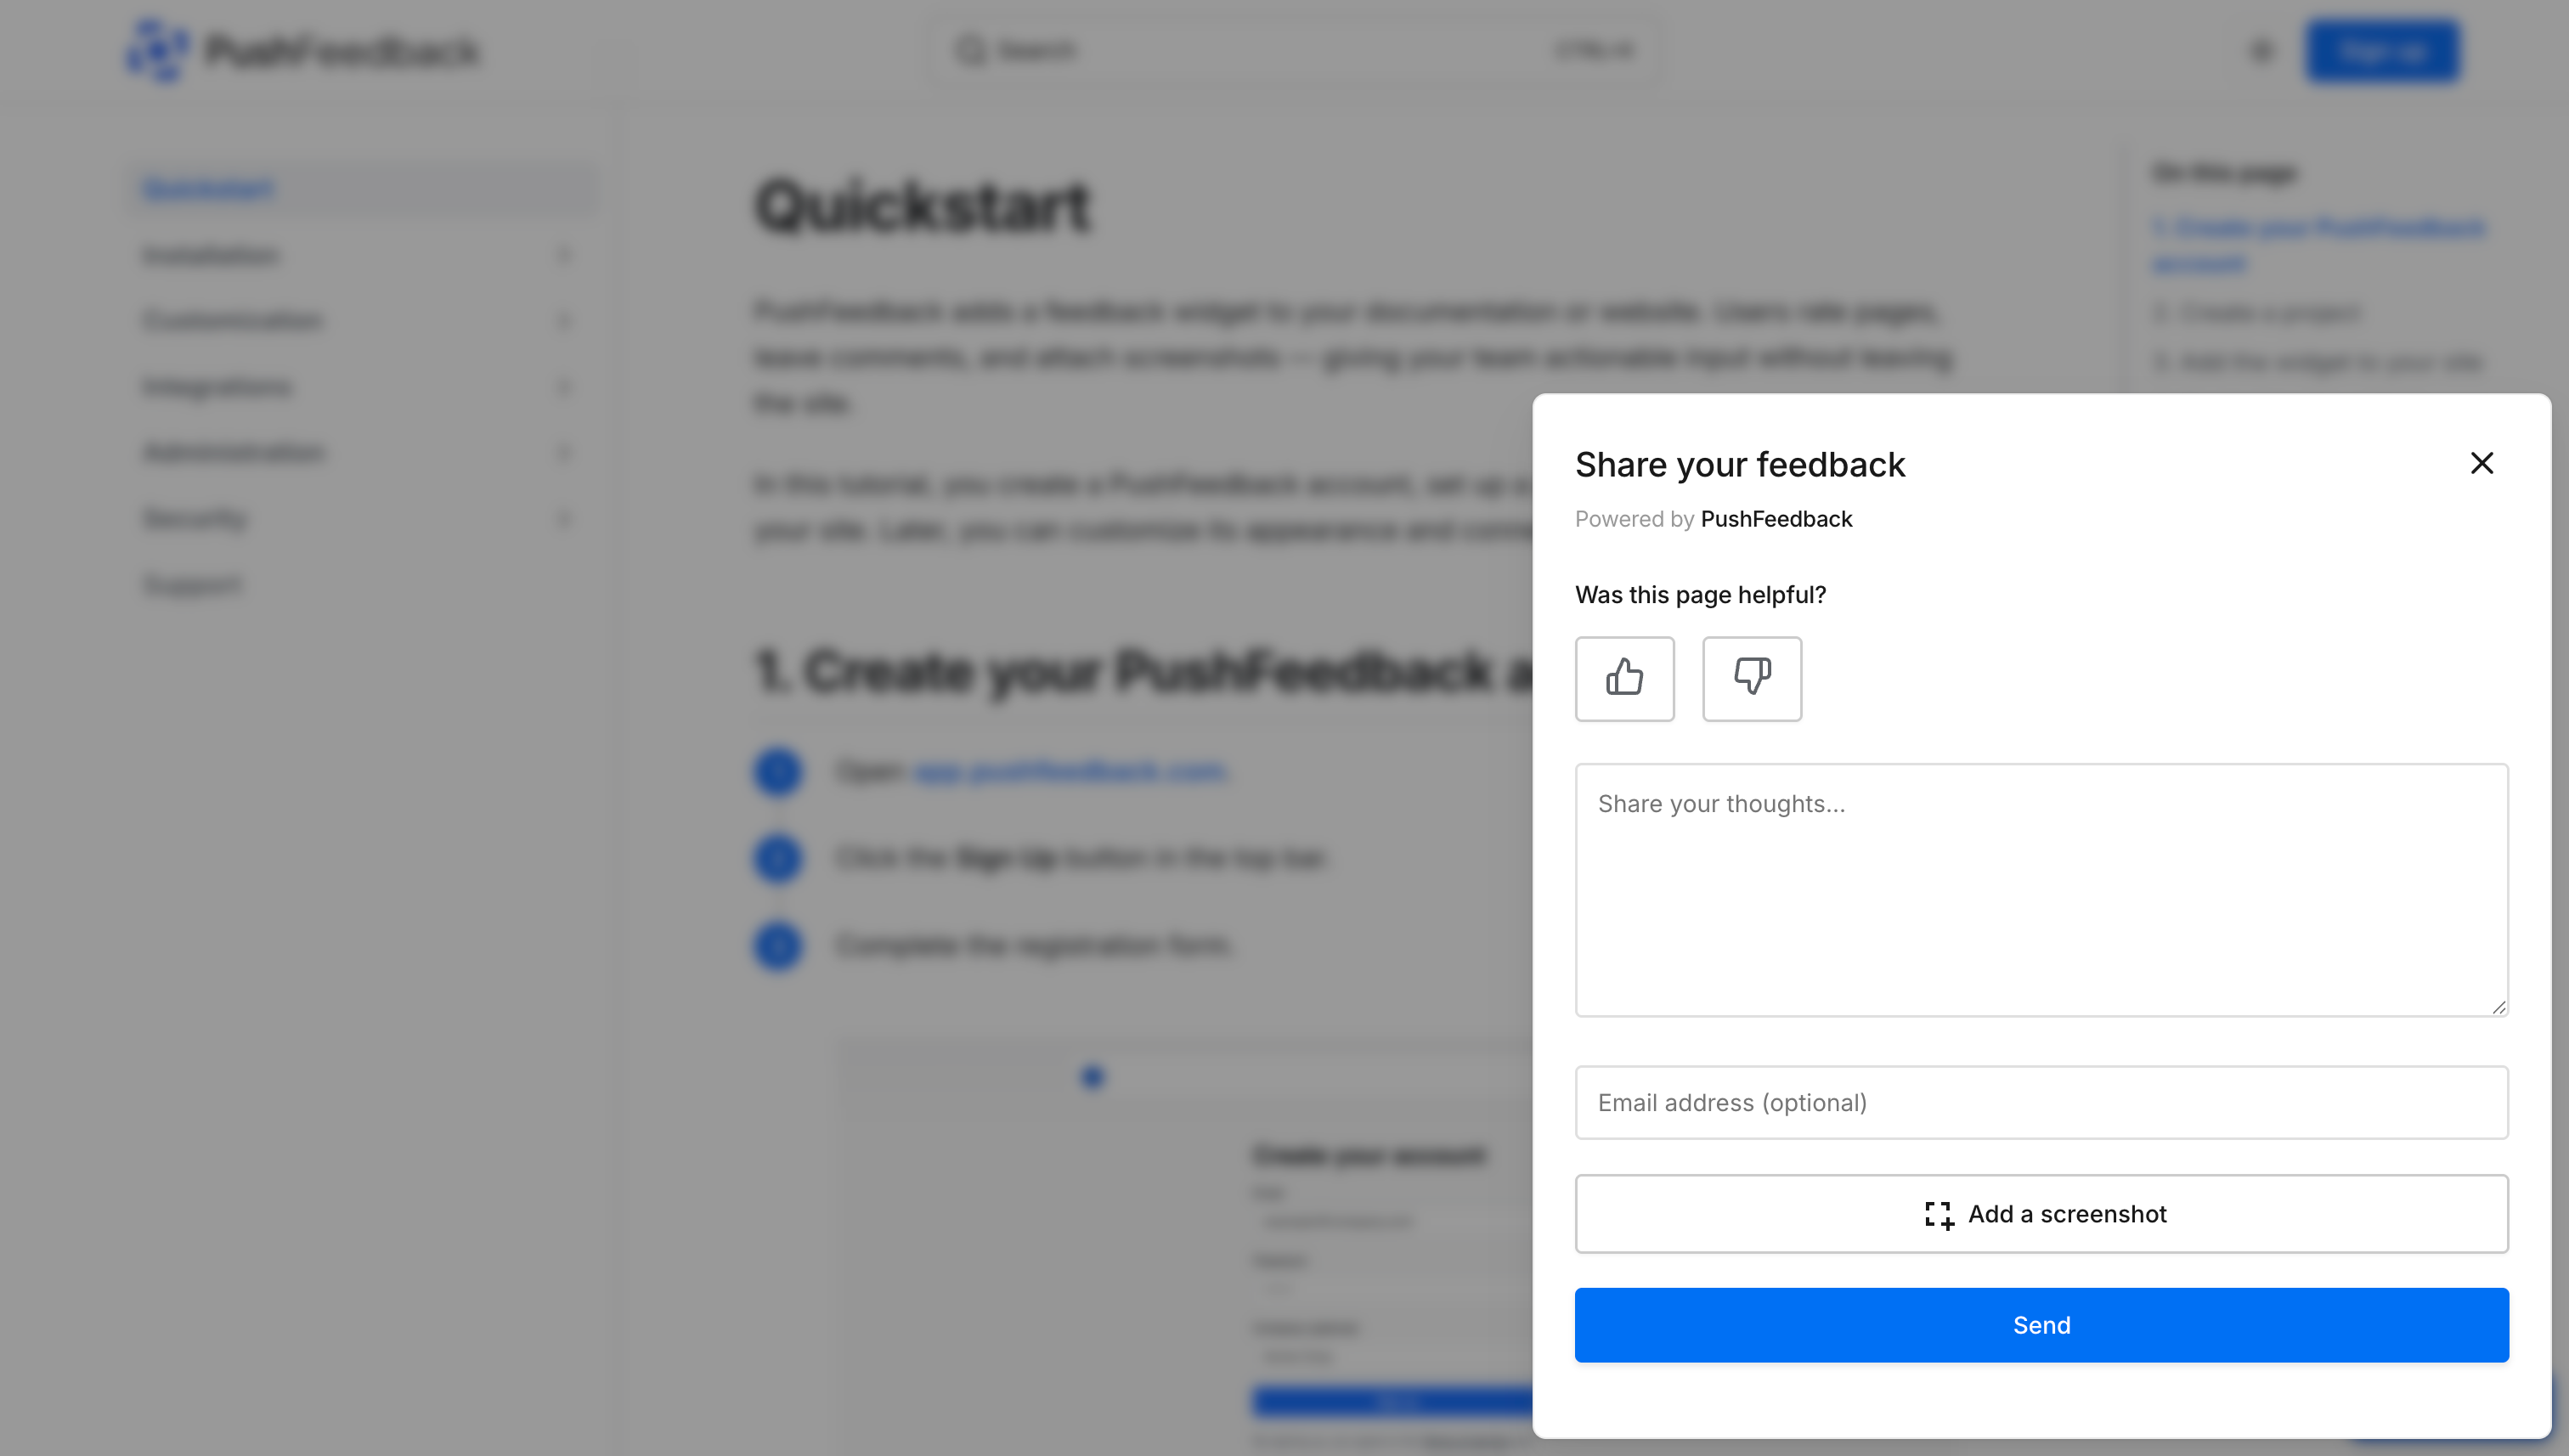
You should see the widget installed in your site:
4. Customize the widget
The widget supports the following customization options:
-
Layout: Choose the widget's placement on your site—bottom right, top left, or even integrate it with an existing button.
-
Styles: Modify colors, fonts, and more to ensure the widget harmonizes with your site's aesthetics.
-
Text: Adapt the widget's text to mirror your site's tone or language.
For detailed configuration steps, see our Customization documentation.
Alternatively, use the feedback widget builder to configure the widget visually and copy the generated snippet. No signup required.
Next steps
Choose what to do next:
- Customization — Adjust the widget's layout, styles, and text.
- Integrations — Forward feedback to Slack, email, Jira, and more.
- Dashboard — Monitor and analyze incoming feedback.