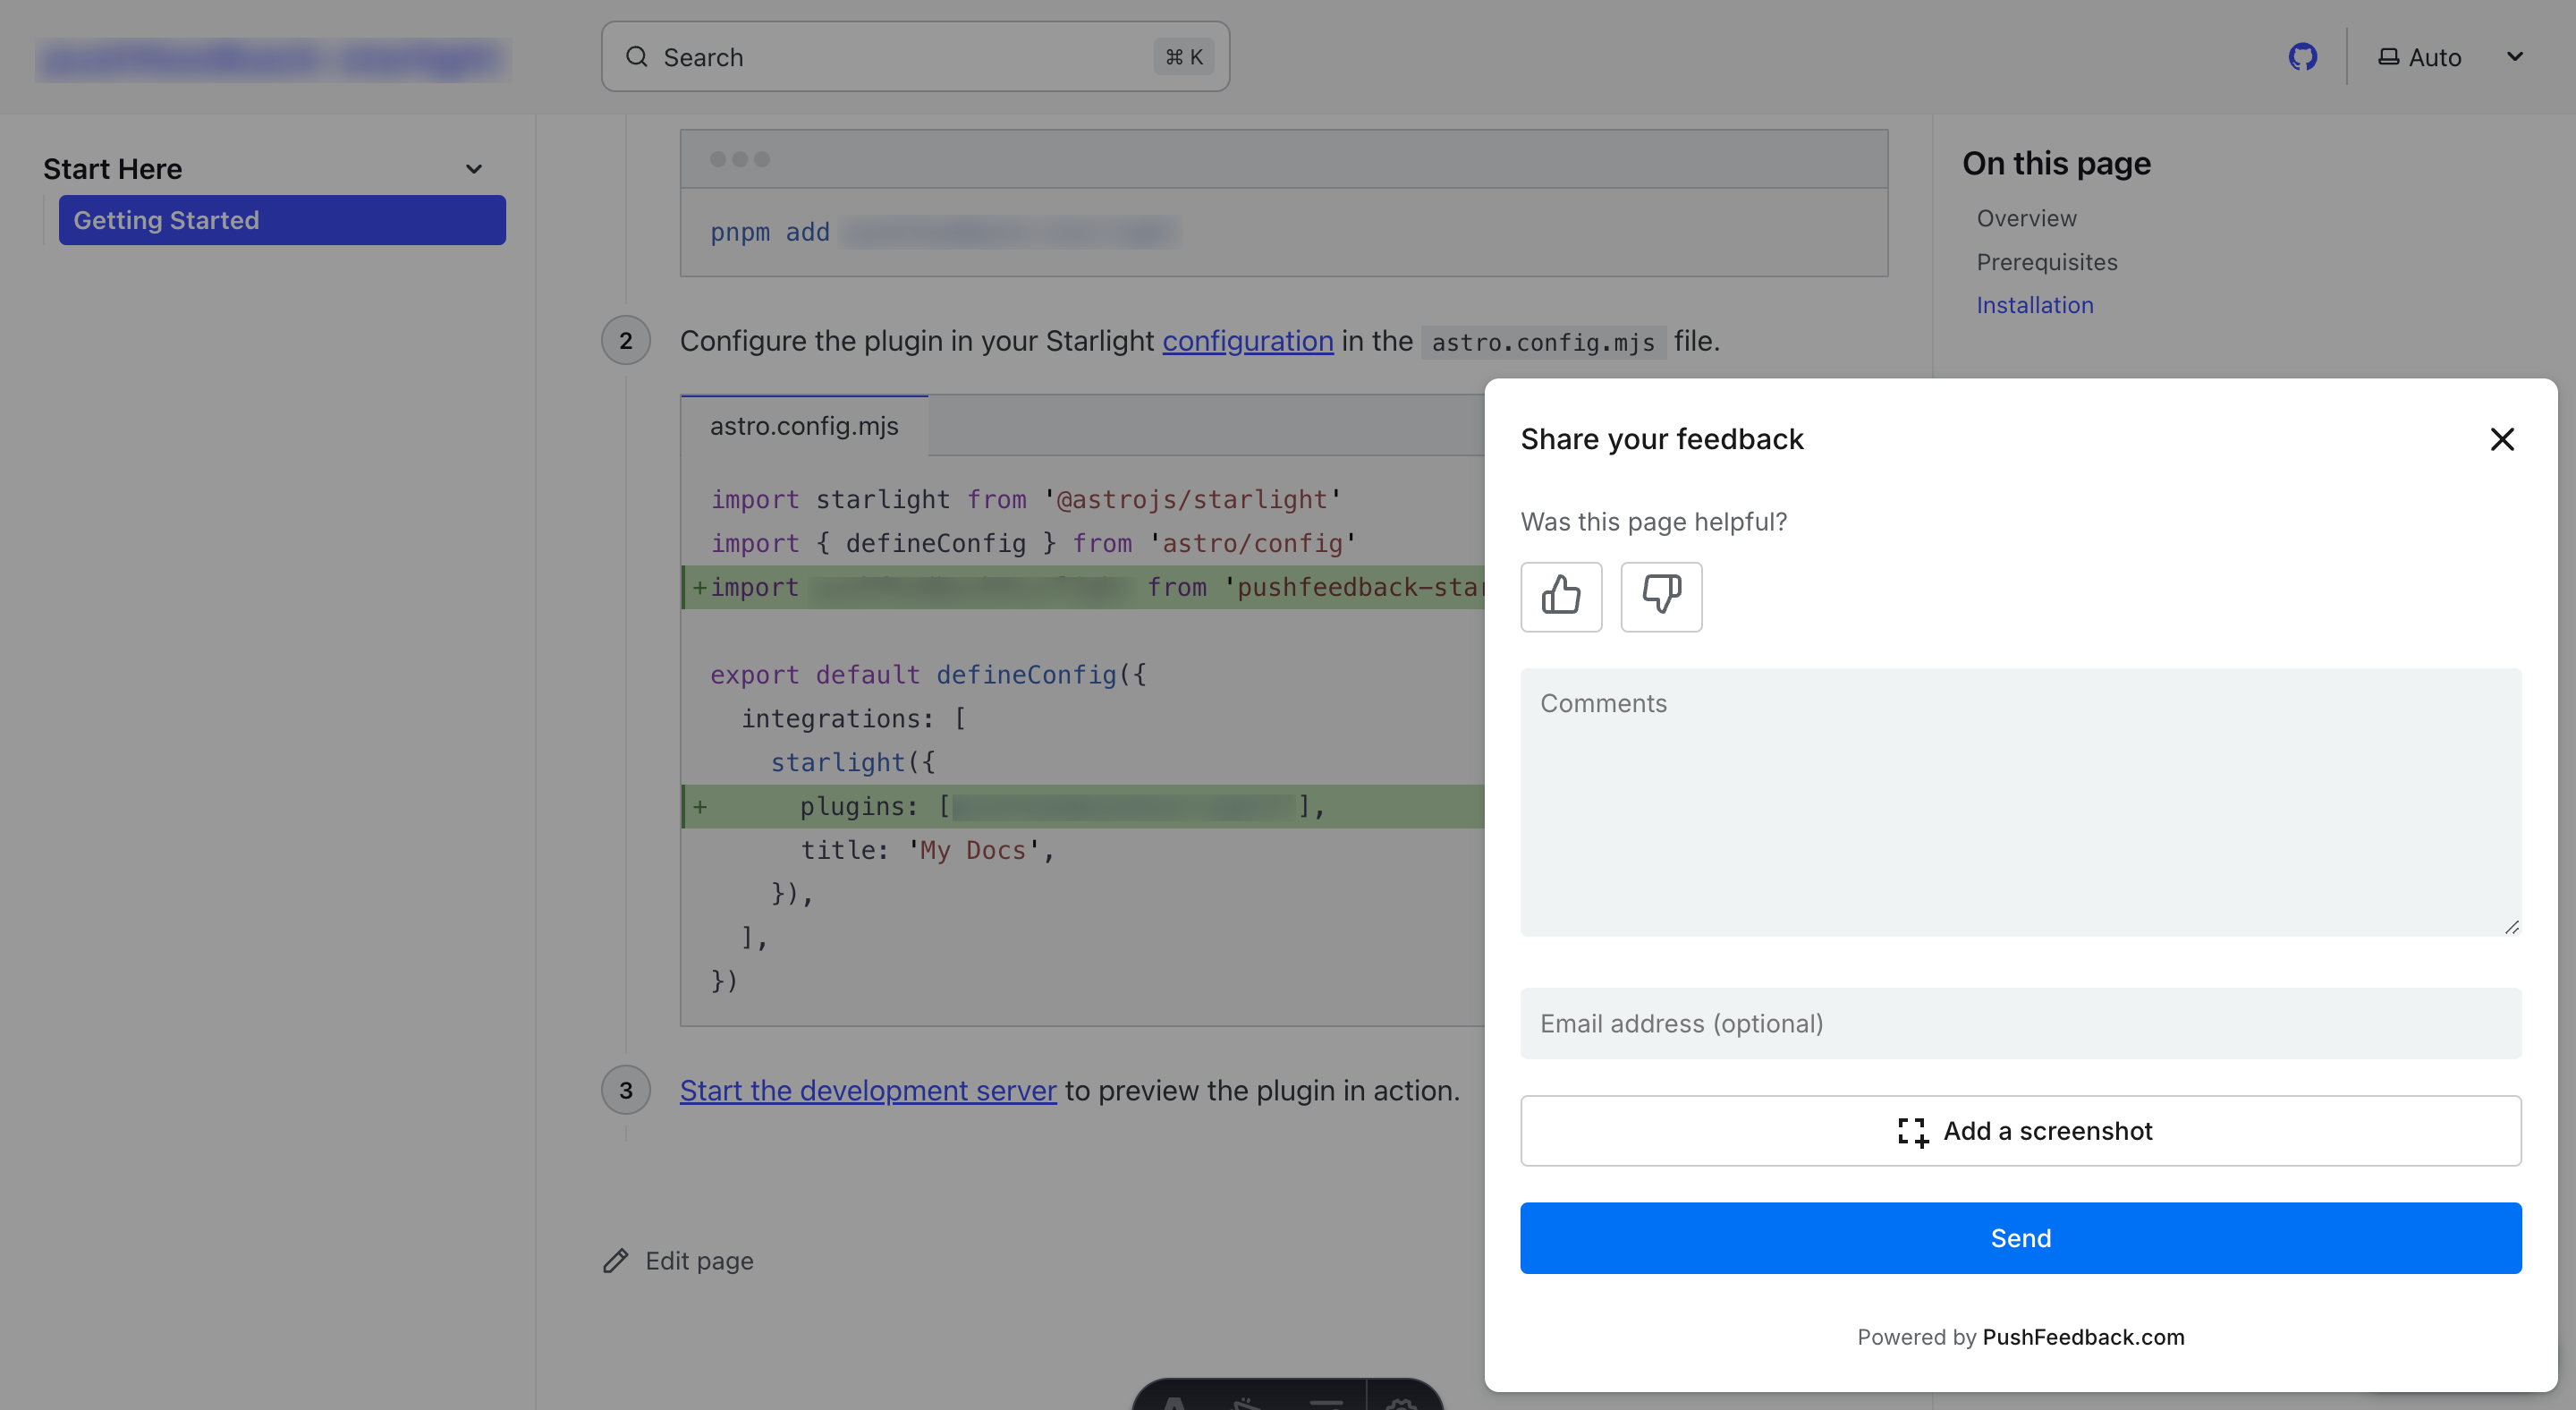
Feedback widget for Webflow
Here's a step-by-step guide to help you install PushFeedback in your Webflow site.

Prerequisites
Before you begin, you'll need to have the following:
- A PushFeedback account. If you don't have one, sign up for free.
- A project created in your PushFeedback dashboard. If you haven't created one yet, follow the steps in the Quickstart guide.
- A Webflow site with the ability to add custom code (available on paid plans).
Installation
To embed the PushFeedback widget into your Webflow site:
Log in to your Webflow account and open your project.
Navigate to Project Settings by clicking the gear icon in the left sidebar.
Go to the Custom Code tab.
In the Head Code section, add the following code to load the PushFeedback styles and scripts:
<!-- Initialize the PushFeedback widget -->
<link rel="stylesheet" href="https://cdn.jsdelivr.net/npm/pushfeedback/dist/pushfeedback/pushfeedback.css">
<script type="module" src="https://cdn.jsdelivr.net/npm/pushfeedback/dist/pushfeedback/pushfeedback.esm.js"></script>
In the Footer Code section (which is inserted before the closing
</body>tag), add the feedback button:<feedback-button project="<YOUR_PROJECT_ID>" button-position="bottom-right" modal-position="bottom-right" button-style="dark">Feedback</feedback-button>Replace
<YOUR_PROJECT_ID>with your project's ID from the PushFeedback dashboard.Click Save Changes.
Publish your Webflow site to see the changes live.
Open your published website in a web browser to verify the feedback button appears and functions correctly.
Next steps
For more about customization and additional features exploration, check out the Customization section.
Need assistance? We're here to help! Reach out to us at PushFeedback Support.