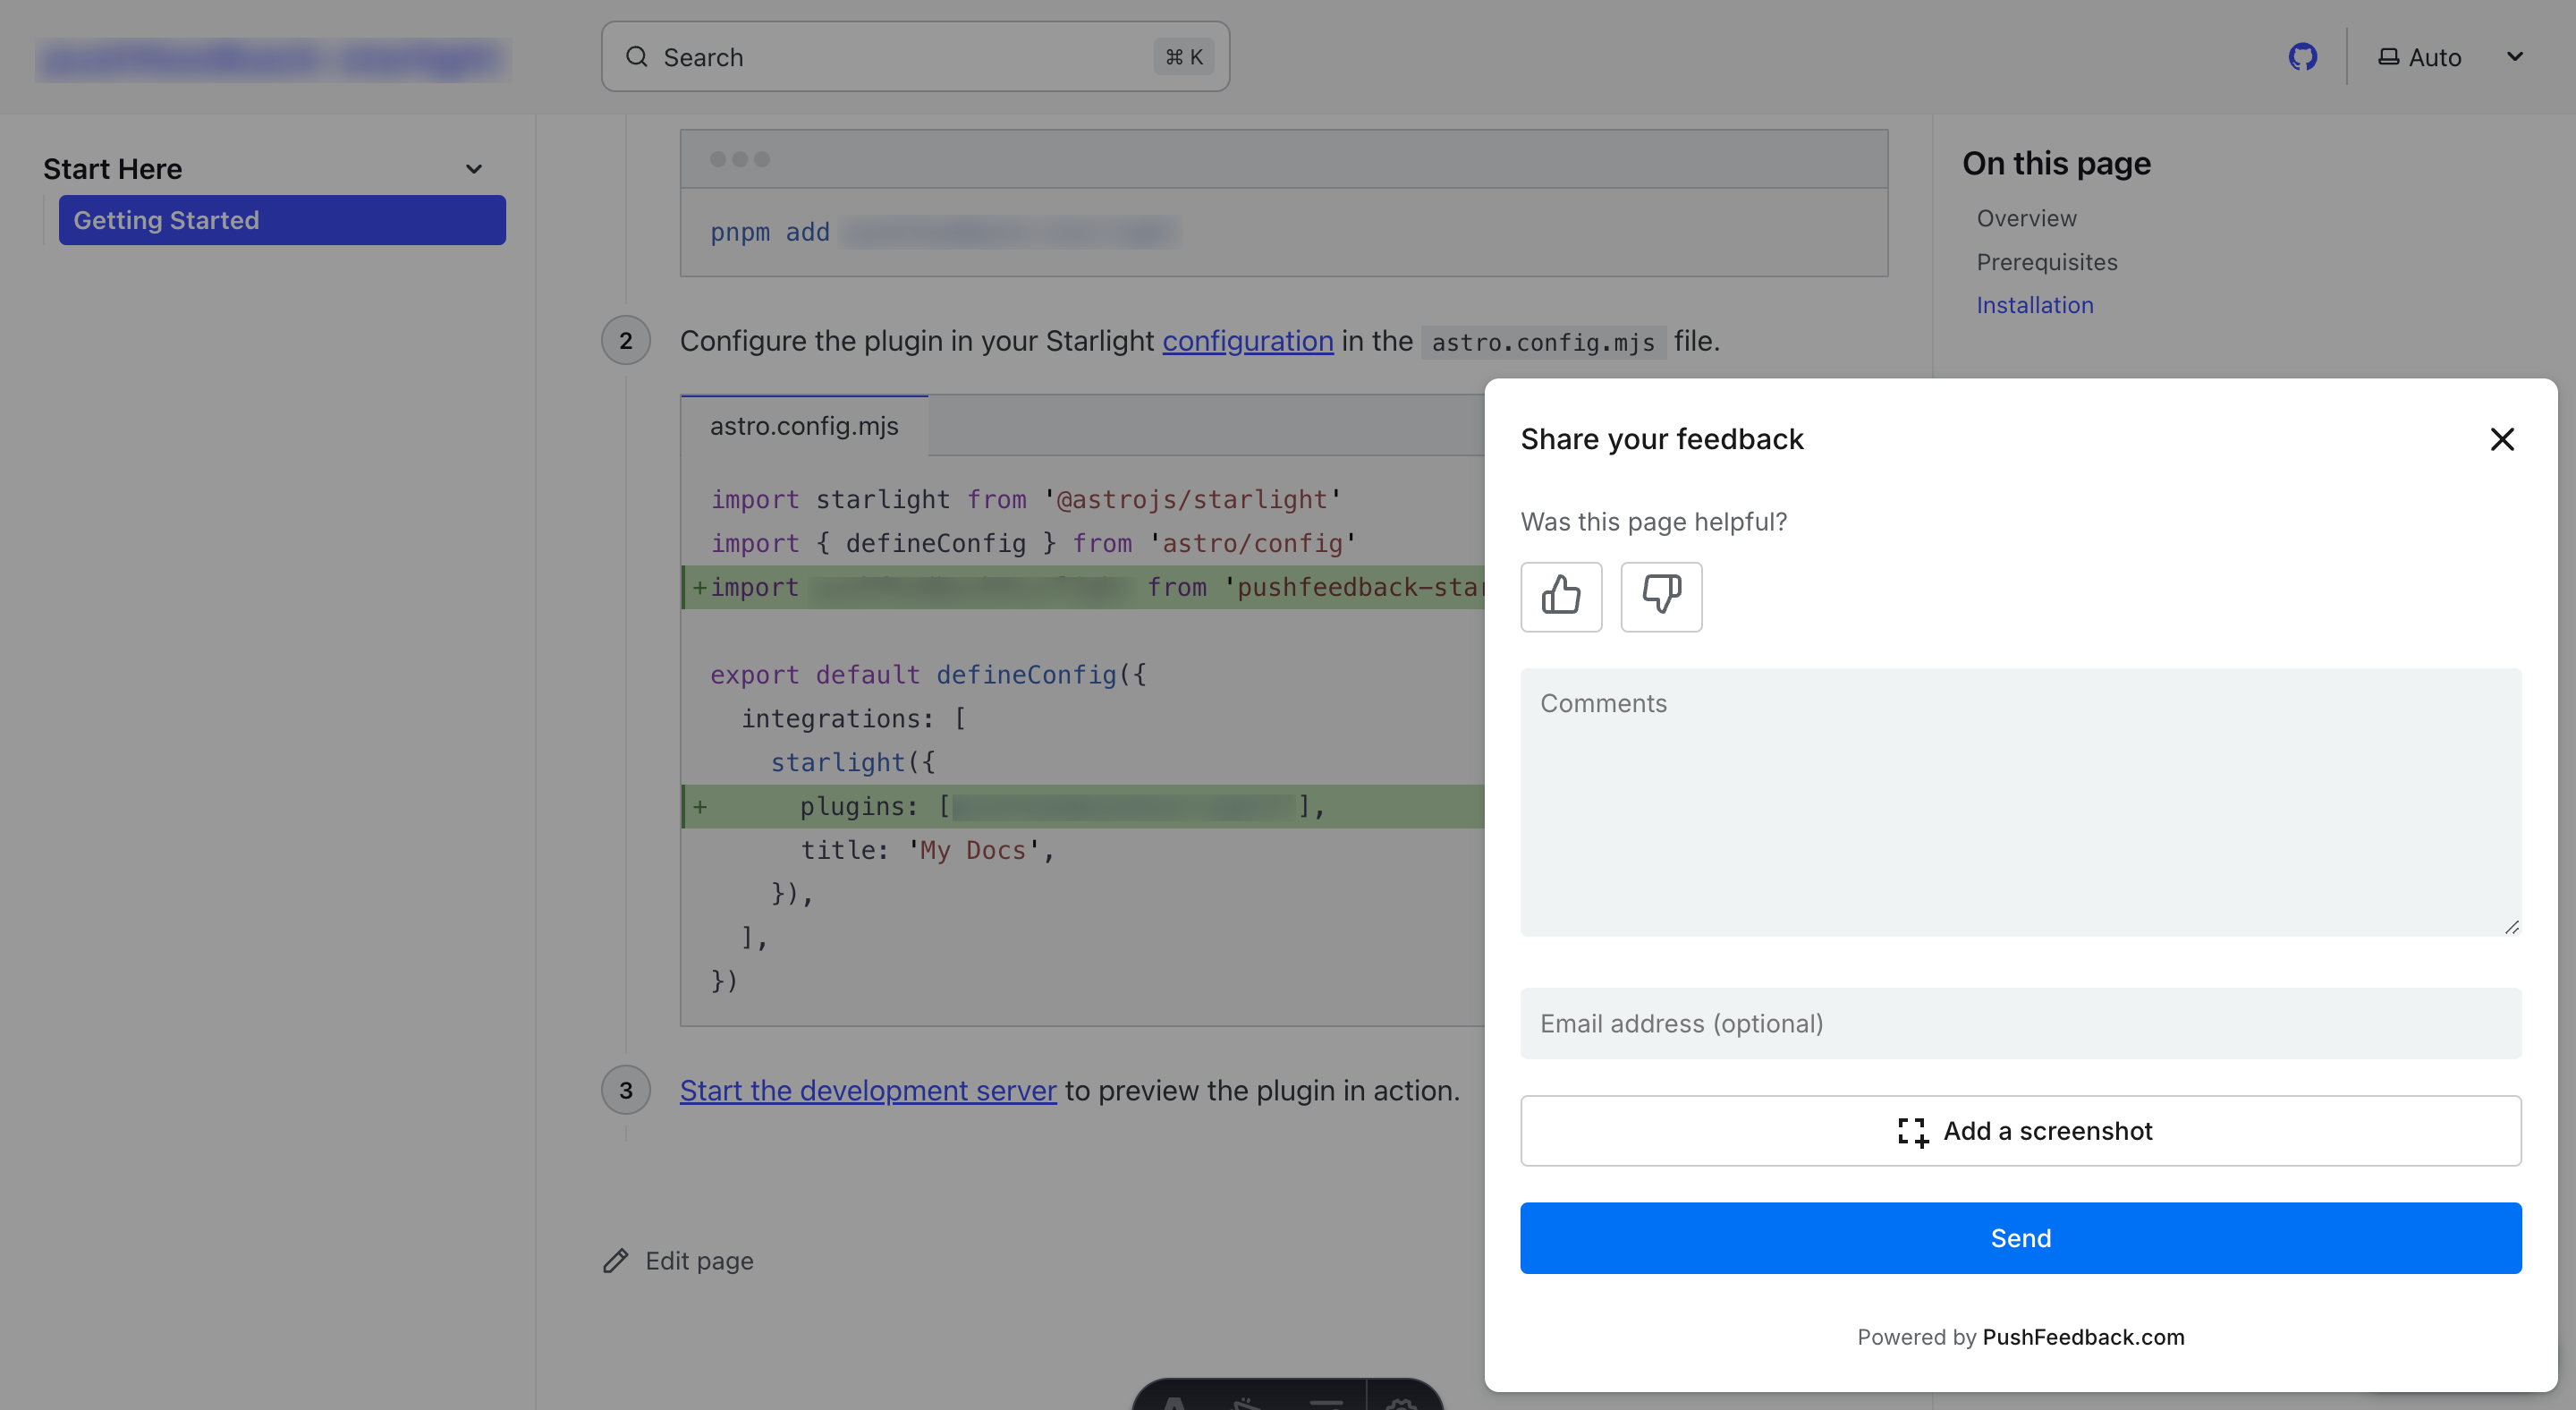
Feedback widget for Sphinx
Here's a step-by-step guide to help you install PushFeedback in your Sphinx project.

Prerequisites
Before you begin, you'll need to have the following:
- A PushFeedback account. If you don't have one, sign up for free.
- A project created in your PushFeedback dashboard. If you haven't created one yet, follow the steps in the Quickstart guide.
- A Sphinx project.
Installation
To integrate the PushFeedback widget into your Sphinx site:
Open your terminal or command prompt. Navigate to your project's root directory using the
cdcommand:cd path/to/your/projectReplace
path/to/your/projectwith your project's actual directory path.With your terminal still open, run the following command to install PushFeedback via PIP:
pip install sphinx-pushfeedbackAdd the extension to your Sphinx project's
conf.pyfile:extensions ['sphinx_pushfeedback']Configure your project ID in the
conf.pyfile:pushfeedback_project = '<YOUR_PROJECT_ID>'
pushfeedback_feedback_button_text = "Feedback"Replace
<YOUR_PROJECT_ID>with your project's ID from the PushFeedback dashboard.Build the documentation:
make htmlOnce built, open your documentation in a web browser. Verify that the feedback button appears and works correctly on your site.
Next steps
You can customize the PushFeedback widget to suit your needs. For example, you can change the widget's position, color, and more.
To do so, you can add any of the following configuration options to your conf.py file, with the following modifications:
Prefix configuration options with
pushfeedback_. For instance,projectwould bepushfeedback_project.Use underscores instead of hyphens as words separator. For example,
button-positionbecomespushfeedback_button_position.
Here's an example:
pushfeedback_button_style = "light"