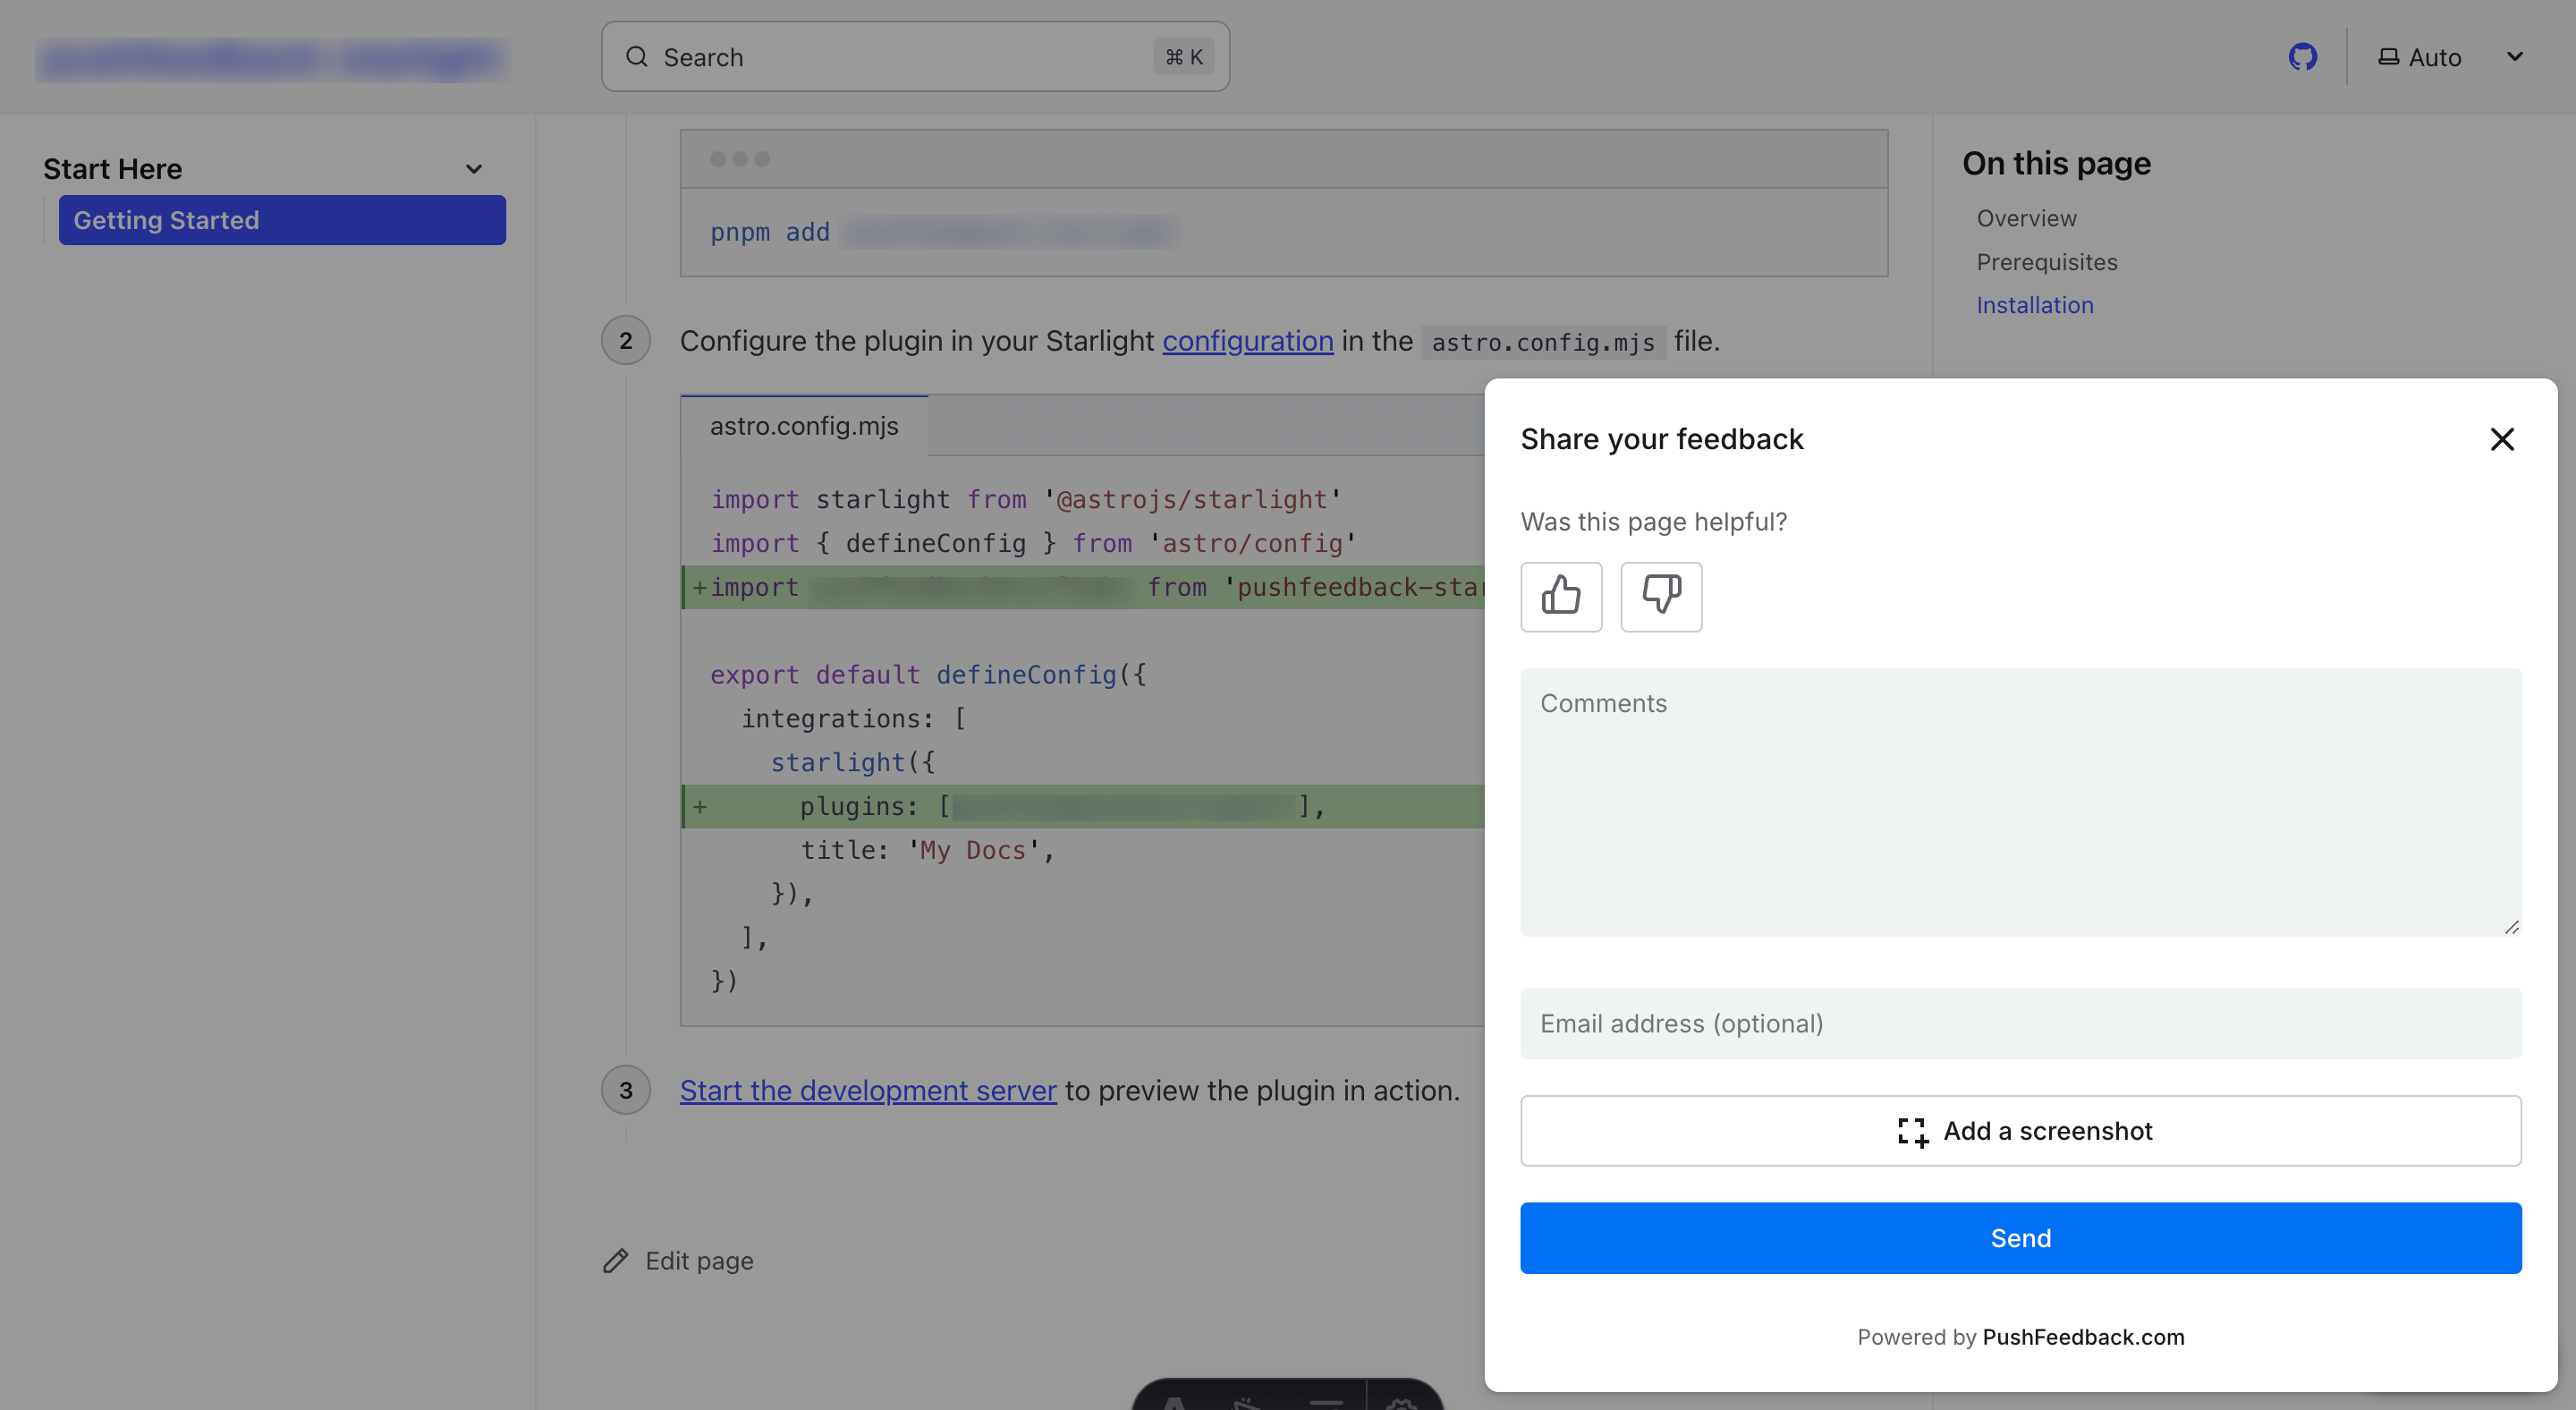
Feedback widget for Paligo
Here's a step-by-step guide to help you install PushFeedback in your Paligo documentation.

Prerequisites
Before you begin, you'll need to have the following:
- A PushFeedback account. If you don't have one, sign up for free.
- A project created in your PushFeedback dashboard. If you haven't created one yet, follow the steps in the Quickstart guide.
- A Paligo account with publishing permissions.
Installation
To embed the PushFeedback widget into your Paligo documentation:
Log in to your Paligo account and open your publication.
Navigate to Settings > Layout and select the HTML5 layout you want to modify.
In the Layout Editor, go to the Scripts section.
In the Head Section field, add the following code to load the PushFeedback styles and scripts:
<link rel="stylesheet" href="https://cdn.jsdelivr.net/npm/pushfeedback/dist/pushfeedback/pushfeedback.css"/>
<script type="module" src="https://cdn.jsdelivr.net/npm/pushfeedback/dist/pushfeedback/pushfeedback.esm.js"></script>
In the Body Section field (or Footer Section if available), add the feedback button:
<feedback-button project="<YOUR_PROJECT_ID>" button-position="bottom-right" modal-position="bottom-right" button-style="dark">Feedback</feedback-button>Replace
<YOUR_PROJECT_ID>with your project's ID from the PushFeedback dashboard.Save your layout changes.
Publish your Paligo documentation using the modified layout.
Open your published documentation in a web browser to verify the feedback button appears and functions correctly.
Alternative: Using Custom CSS/JS Files
If your Paligo layout supports custom CSS and JavaScript files:
Create a JavaScript file with the following content:
// Load PushFeedback
(function() {
    var link = document.createElement('link');
    link.rel = 'stylesheet';
    link.href = 'https://cdn.jsdelivr.net/npm/pushfeedback/dist/pushfeedback/pushfeedback.css';
    document.head.appendChild(link);

    var script = document.createElement('script');
    script.type = 'module';
    script.src = 'https://cdn.jsdelivr.net/npm/pushfeedback/dist/pushfeedback/pushfeedback.esm.js';
    document.head.appendChild(script);

    script.onload = function() {
        var feedbackButton = document.createElement('feedback-button');
        feedbackButton.setAttribute('project', '<YOUR_PROJECT_ID>');
        feedbackButton.setAttribute('button-position', 'bottom-right');
        feedbackButton.setAttribute('modal-position', 'bottom-right');
        feedbackButton.setAttribute('button-style', 'dark');
        feedbackButton.textContent = 'Feedback';
        document.body.appendChild(feedbackButton);
    };
})();
Replace
<YOUR_PROJECT_ID>with your project's ID from the PushFeedback dashboard.Upload this file to your Paligo resources and reference it in your layout's Scripts section.
Next steps
For more about customization and additional features exploration, check out the Customization section.
Need assistance? We're here to help! Reach out to us at PushFeedback Support.