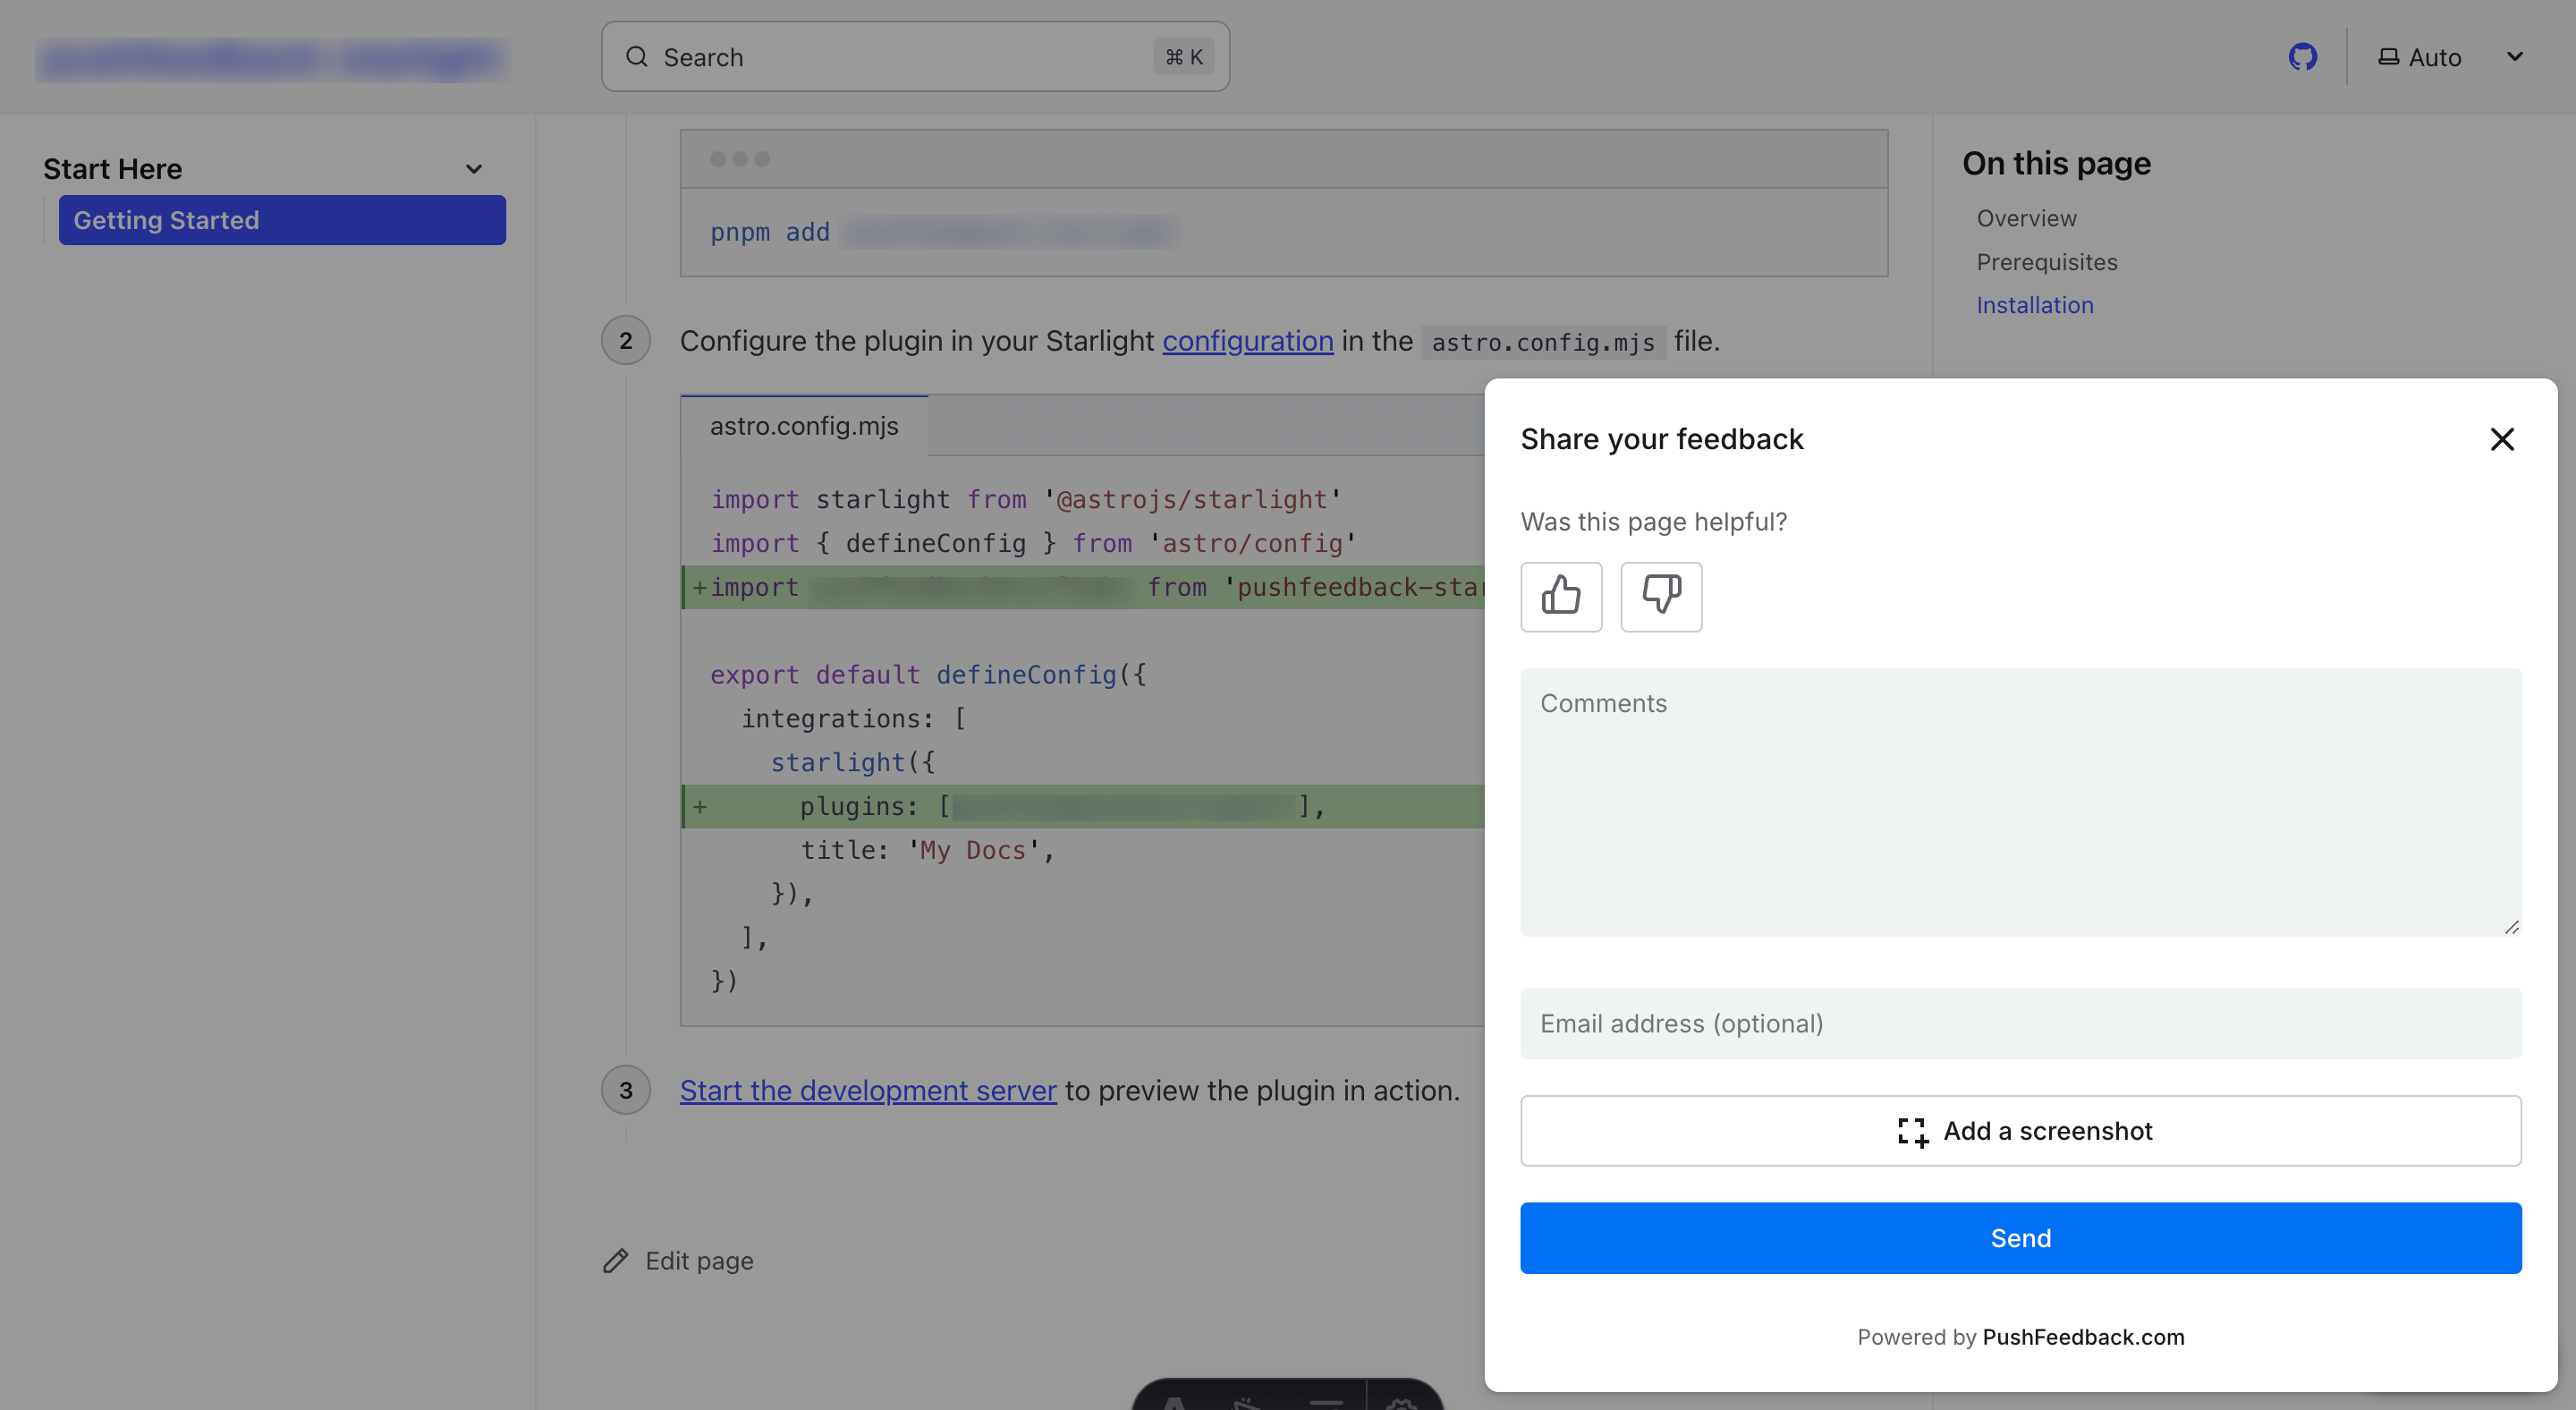
Feedback widget for HTML sites
Here's a step-by-step guide to help you install PushFeedback in your HTML site.

Prerequisites
Before you begin, you'll need to have the following:
- A PushFeedback account. If you don't have one, sign up for free.
- A project created in your PushFeedback dashboard. If you haven't created one yet, follow the steps in the Quickstart guide.
Installation
To integrate the PushFeedback widget into your website:
Insert the following code within the
<head>section of your site's HTML:<!-- Initialize the PushFeedback widget -->
<link rel="stylesheet" href="https://cdn.jsdelivr.net/npm/pushfeedback/dist/pushfeedback/pushfeedback.css">
<script type="module" src="https://cdn.jsdelivr.net/npm/pushfeedback/dist/pushfeedback/pushfeedback.esm.js"></script>Just before the closing
</body>tag of your website's HTML, add the following snippet:<feedback-button project="<YOUR_PROJECT_ID>" button-position="bottom-right" modal-position="bottom-right" button-style="dark">Feedback</feedback-button>Replace
<YOUR_PROJECT_ID>with your project's ID from the PushFeedback dashboard.Open the website in a web browser to verify the feedback button appears and works correctly.
Next steps
For more about customization and additional features exploration, check out the Customization section.
Need assistance? We're here to help! Reach out to us at PushFeedback Support.